The Complete Guide to Door Hardware Installation: Tips, Tricks, and Expert Advice
Welcome to the ultimate guide to door hardware installation. Whether you’re a seasoned DIY enthusiast or a first-time homeowner looking to save on installation costs, this comprehensive guide has got you covered. From choosing the right hardware to step-by-step installation instructions, we’ll walk you through the entire process.
Installing door hardware may seem like a small detail, but it can make a big impact on the overall look and functionality of your doors. Whether you’re replacing worn-out hardware or upgrading to enhance the aesthetic appeal of your space, our expert advice and insider tips will ensure a successful installation.
In this guide, we’ll cover everything you need to know about door hardware installation, including types of hardware, tools required, and common installation challenges. With our step-by-step instructions, you’ll be able to tackle this project with confidence, saving time and money along the way.
So, whether you’re looking to upgrade your home’s door hardware for security purposes or to enhance its overall appearance, this guide will provide you with all the information you need to achieve professional-level results. Let’s get started!
Need a Door hardware Installer Near Mineola, Texas?
We can help you repair or replace your door or door hardware. Contact us today for a free estimate.
Importance of door hardware installation
Proper door hardware installation is crucial for the overall functionality and aesthetic appeal of your home. The door hardware, which includes items such as knobs, handles, locks, and hinges, play a vital role in the security, ease of use, and visual appeal of your doors. Investing time and effort into ensuring a professional-grade installation can have a significant impact on the long-term durability, performance, and appearance of your doors.
When door hardware is installed correctly, it not only enhances the overall look of your home but also provides a higher level of security and safety for your family. Poorly installed hardware can lead to issues such as stuck or loose doors, difficulty in locking and unlocking, and even potential safety hazards. By taking the time to properly install your door hardware, you can enjoy the peace of mind that comes with knowing your home is secure and your doors are functioning as intended.
Moreover, well-chosen and expertly installed door hardware can significantly boost the value of your home. Potential buyers often place a high value on the condition and quality of a home’s hardware, as it is a reflection of the overall care and attention to detail that has been put into the property. By investing in a professional-grade door hardware installation, you can increase the perceived value of your home and potentially attract more interested buyers when the time comes to sell.
Types of door hardware
When it comes to door hardware, there is a wide range of options available to homeowners, each with its own unique features and benefits. Understanding the different types of door hardware can help you make an informed decision that aligns with your personal style, budget, and functional requirements.
One of the most common types of door hardware is the door knob. Door knobs come in a variety of materials, including metal, glass, and even wood, and can be found in a range of finishes such as brushed nickel, oil-rubbed bronze, and polished chrome. Door knobs are a popular choice for their classic and timeless appeal, and they are often used on interior doors throughout the home.
Another popular type of door hardware is the door handle, also known as a lever. Door handles are a more contemporary option that offer a sleek and modern look. They are often preferred for their ease of use, as they can be operated with a simple push or pull motion, making them a great choice for those with limited dexterity. Door handles are commonly used on both interior and exterior doors, and they come in a wide range of styles and finishes to complement any decor.
Tools needed for door hardware installation
Proper door hardware installation requires a specific set of tools to ensure a successful and professional-grade outcome. While the exact tools needed may vary depending on the specific hardware you are installing, there are some essential items that should be in your toolkit.
One of the most important tools for door hardware installation is a drill, which will be used to create the necessary holes for the hardware components. A cordless drill with a variety of drill bits, including both standard and spade bits, is an ideal choice, as it provides the flexibility to tackle a wide range of materials and door types.
In addition to a drill, you’ll also need a screwdriver set, which should include both flat-head and Phillips-head screwdrivers in various sizes. These screwdrivers will be used to secure the hardware components to the door and frame. A level is another essential tool, as it will help you ensure that the hardware is installed straight and level, which is crucial for proper functionality and appearance.
Preparing for door hardware installation
Before you begin the installation process, it’s important to take the time to properly prepare your door and the surrounding area. This will not only ensure a smoother installation but also help prevent any potential damage to your door or the surrounding surfaces.
The first step in preparing for door hardware installation is to thoroughly clean the door and the area where the hardware will be installed. This will remove any dirt, debris, or old hardware remnants that could interfere with the new installation. Use a mild cleaning solution and a soft cloth to gently wipe down the door, making sure to pay special attention to the areas where the new hardware will be placed.
Next, you’ll need to measure the door to ensure that the new hardware will fit properly. This includes measuring the thickness of the door, as well as the size and placement of the existing hardware. If you’re replacing existing hardware, be sure to remove it carefully, taking note of any existing holes or markings that may need to be addressed during the installation process.
Step-by-step guide to door hardware installation
With your door and the surrounding area properly prepared, you’re now ready to begin the door hardware installation process. Follow these step-by-step instructions to ensure a successful and professional-grade installation:
- Start by laying out all the components of the door hardware kit, making sure you have all the necessary pieces and that they are in good condition.
- Using the measurements you took earlier, mark the locations on the door where the new hardware will be installed. This may include drilling new holes or aligning the new hardware with existing ones.
- Carefully drill the necessary holes, making sure to use the appropriate drill bit size and depth to accommodate the hardware components.
- Insert the hardware components, such as the door knob or handle, and secure them in place using the provided screws.
- Ensure that the hardware is level and properly aligned, making any necessary adjustments to ensure smooth operation.
- Test the hardware to ensure it is functioning correctly, with the door opening and closing easily and the lock engaging properly.
- If you’re installing a deadbolt or other locking mechanism, follow the manufacturer’s instructions carefully to ensure proper installation and operation.
- Once the installation is complete, clean the area and remove any debris or dust that may have accumulated during the process.
Common mistakes to avoid during door hardware installation
While door hardware installation may seem like a straightforward task, there are several common mistakes that homeowners should be aware of to ensure a successful and long-lasting installation. By being mindful of these potential pitfalls, you can avoid costly repairs and enjoy the benefits of properly installed door hardware.
One of the most common mistakes is failing to properly measure the door and the existing hardware. Incorrect measurements can lead to hardware that doesn’t fit properly, resulting in a sloppy installation and potential functionality issues. Be sure to take accurate measurements and double-check them before proceeding with the installation.
Another common mistake is not properly preparing the door surface before installing the new hardware. Failing to clean the door or address any existing damage or unevenness can lead to hardware that doesn’t sit flush or operate smoothly. Take the time to thoroughly prepare the door surface to ensure a professional-grade installation.
Expert advice for successful door hardware installation
Drawing on years of experience and industry expertise, we’ve compiled a set of valuable tips and tricks to help ensure a successful door hardware installation:
- Always follow the manufacturer’s instructions carefully, as they will provide specific guidance on the installation process for the particular hardware you are using.
- Use the appropriate tools for the job, including a cordless drill, level, and screwdrivers, to ensure a precise and secure installation.
- Take your time during the installation process, and don’t rush through the steps. Rushing can lead to mistakes that may be difficult to correct later.
- If you’re unsure about any aspect of the installation, don’t hesitate to consult with a professional or seek out additional resources for guidance.
- Consider the overall aesthetic of your home when selecting door hardware, and choose finishes and styles that complement your existing decor.
- Invest in high-quality door hardware, as it will not only look better but also provide better long-term performance and durability.
- Be mindful of the door’s weight and construction when selecting hardware, as heavier doors may require more robust hardware to ensure proper functionality.
Troubleshooting tips for door hardware installation
Even with the best preparation and attention to detail, there may be times when unexpected issues arise during the door hardware installation process. By being familiar with some common troubleshooting tips, you can quickly identify and resolve any problems that may occur, ensuring a successful and hassle-free installation.
One of the most common issues that homeowners encounter is difficulty aligning the hardware, resulting in doors that stick or don’t close properly. This can often be addressed by carefully adjusting the hardware’s positioning or the door itself, ensuring that everything is level and properly secured.
Another common problem is hardware that feels loose or unstable, which can be caused by a variety of factors, such as improperly drilled holes or hardware that doesn’t match the door’s specifications. In these cases, you may need to re-drill the holes or consider replacing the hardware with a more suitable option.
Conclusion: Enhancing your home with proper door hardware installation
Proper door hardware installation is a critical step in enhancing the overall look, functionality, and security of your home. By taking the time to carefully select and expertly install your door hardware, you can enjoy the benefits of a well-designed and high-performing entryway that will serve you and your family for years to come.
Whether you’re a seasoned DIY enthusiast or a first-time homeowner, this comprehensive guide has provided you with the knowledge and tools you need to tackle door hardware installation with confidence. From understanding the different types of hardware to mastering the step-by-step installation process, you now have the expertise to transform the doors in your home and elevate the overall aesthetic and functionality of your living space.
Remember, investing in quality door hardware and taking the time to ensure a professional-grade installation can have a significant impact on the perceived value of your home, making it a smart and worthwhile project for any homeowner. So, what are you waiting for? Start planning your door hardware upgrade today and experience the transformative power of expertly installed door hardware in your home.
Got a DIYer in your home? Try some of these easy self-solutions:
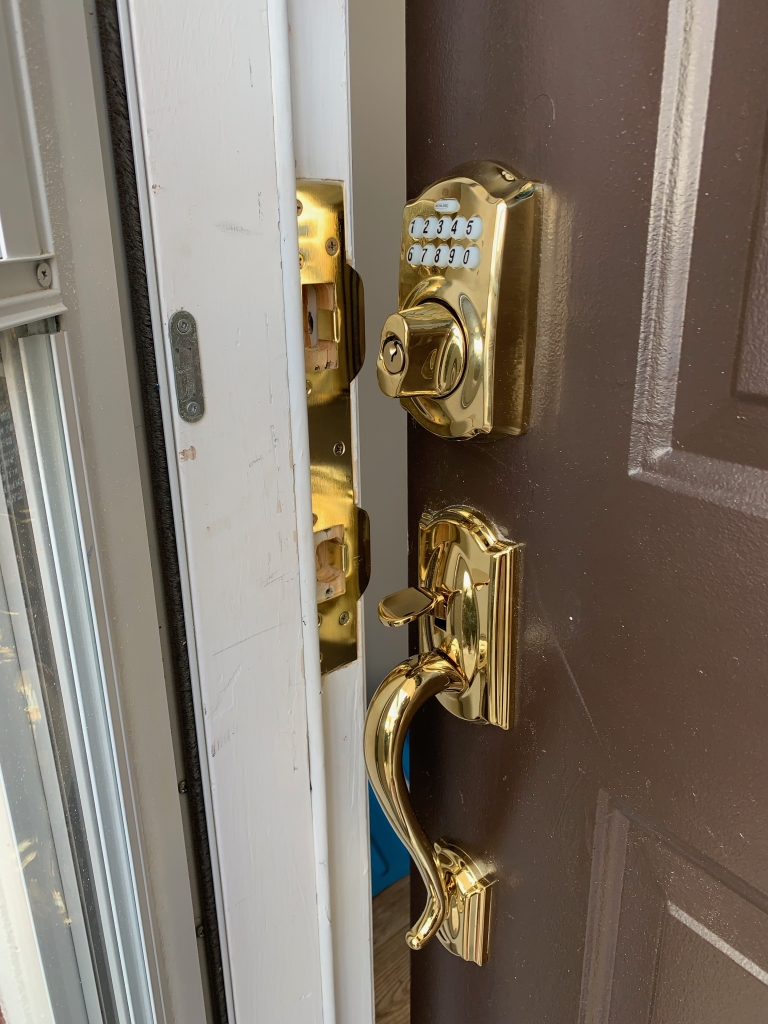
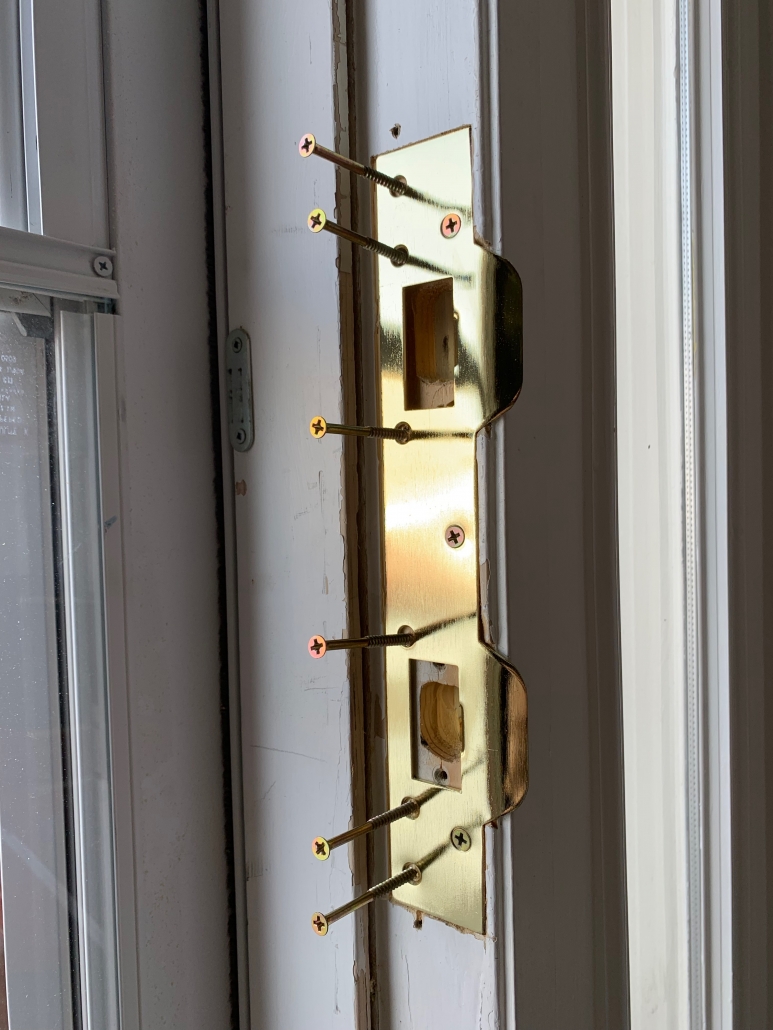
Do you have a wood screw that is stripped out? Take some wood glue and toothpicks and fill the hole. Once it’s dry, cut it flush and replace the screw.
Want to keep your toothpicks for baking or have an extra 3/8th inch wooden dowel left over from an art project? Clear out the holes with a 3/8th inch drill bit, insert the dowel with wood glue and leave to dry. Once done, cut and sand the wood flat, make a 1/8th inch pilot hole and reinstall the door hardware. This makes for a strong repair.
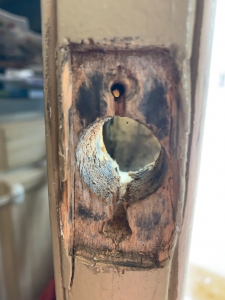
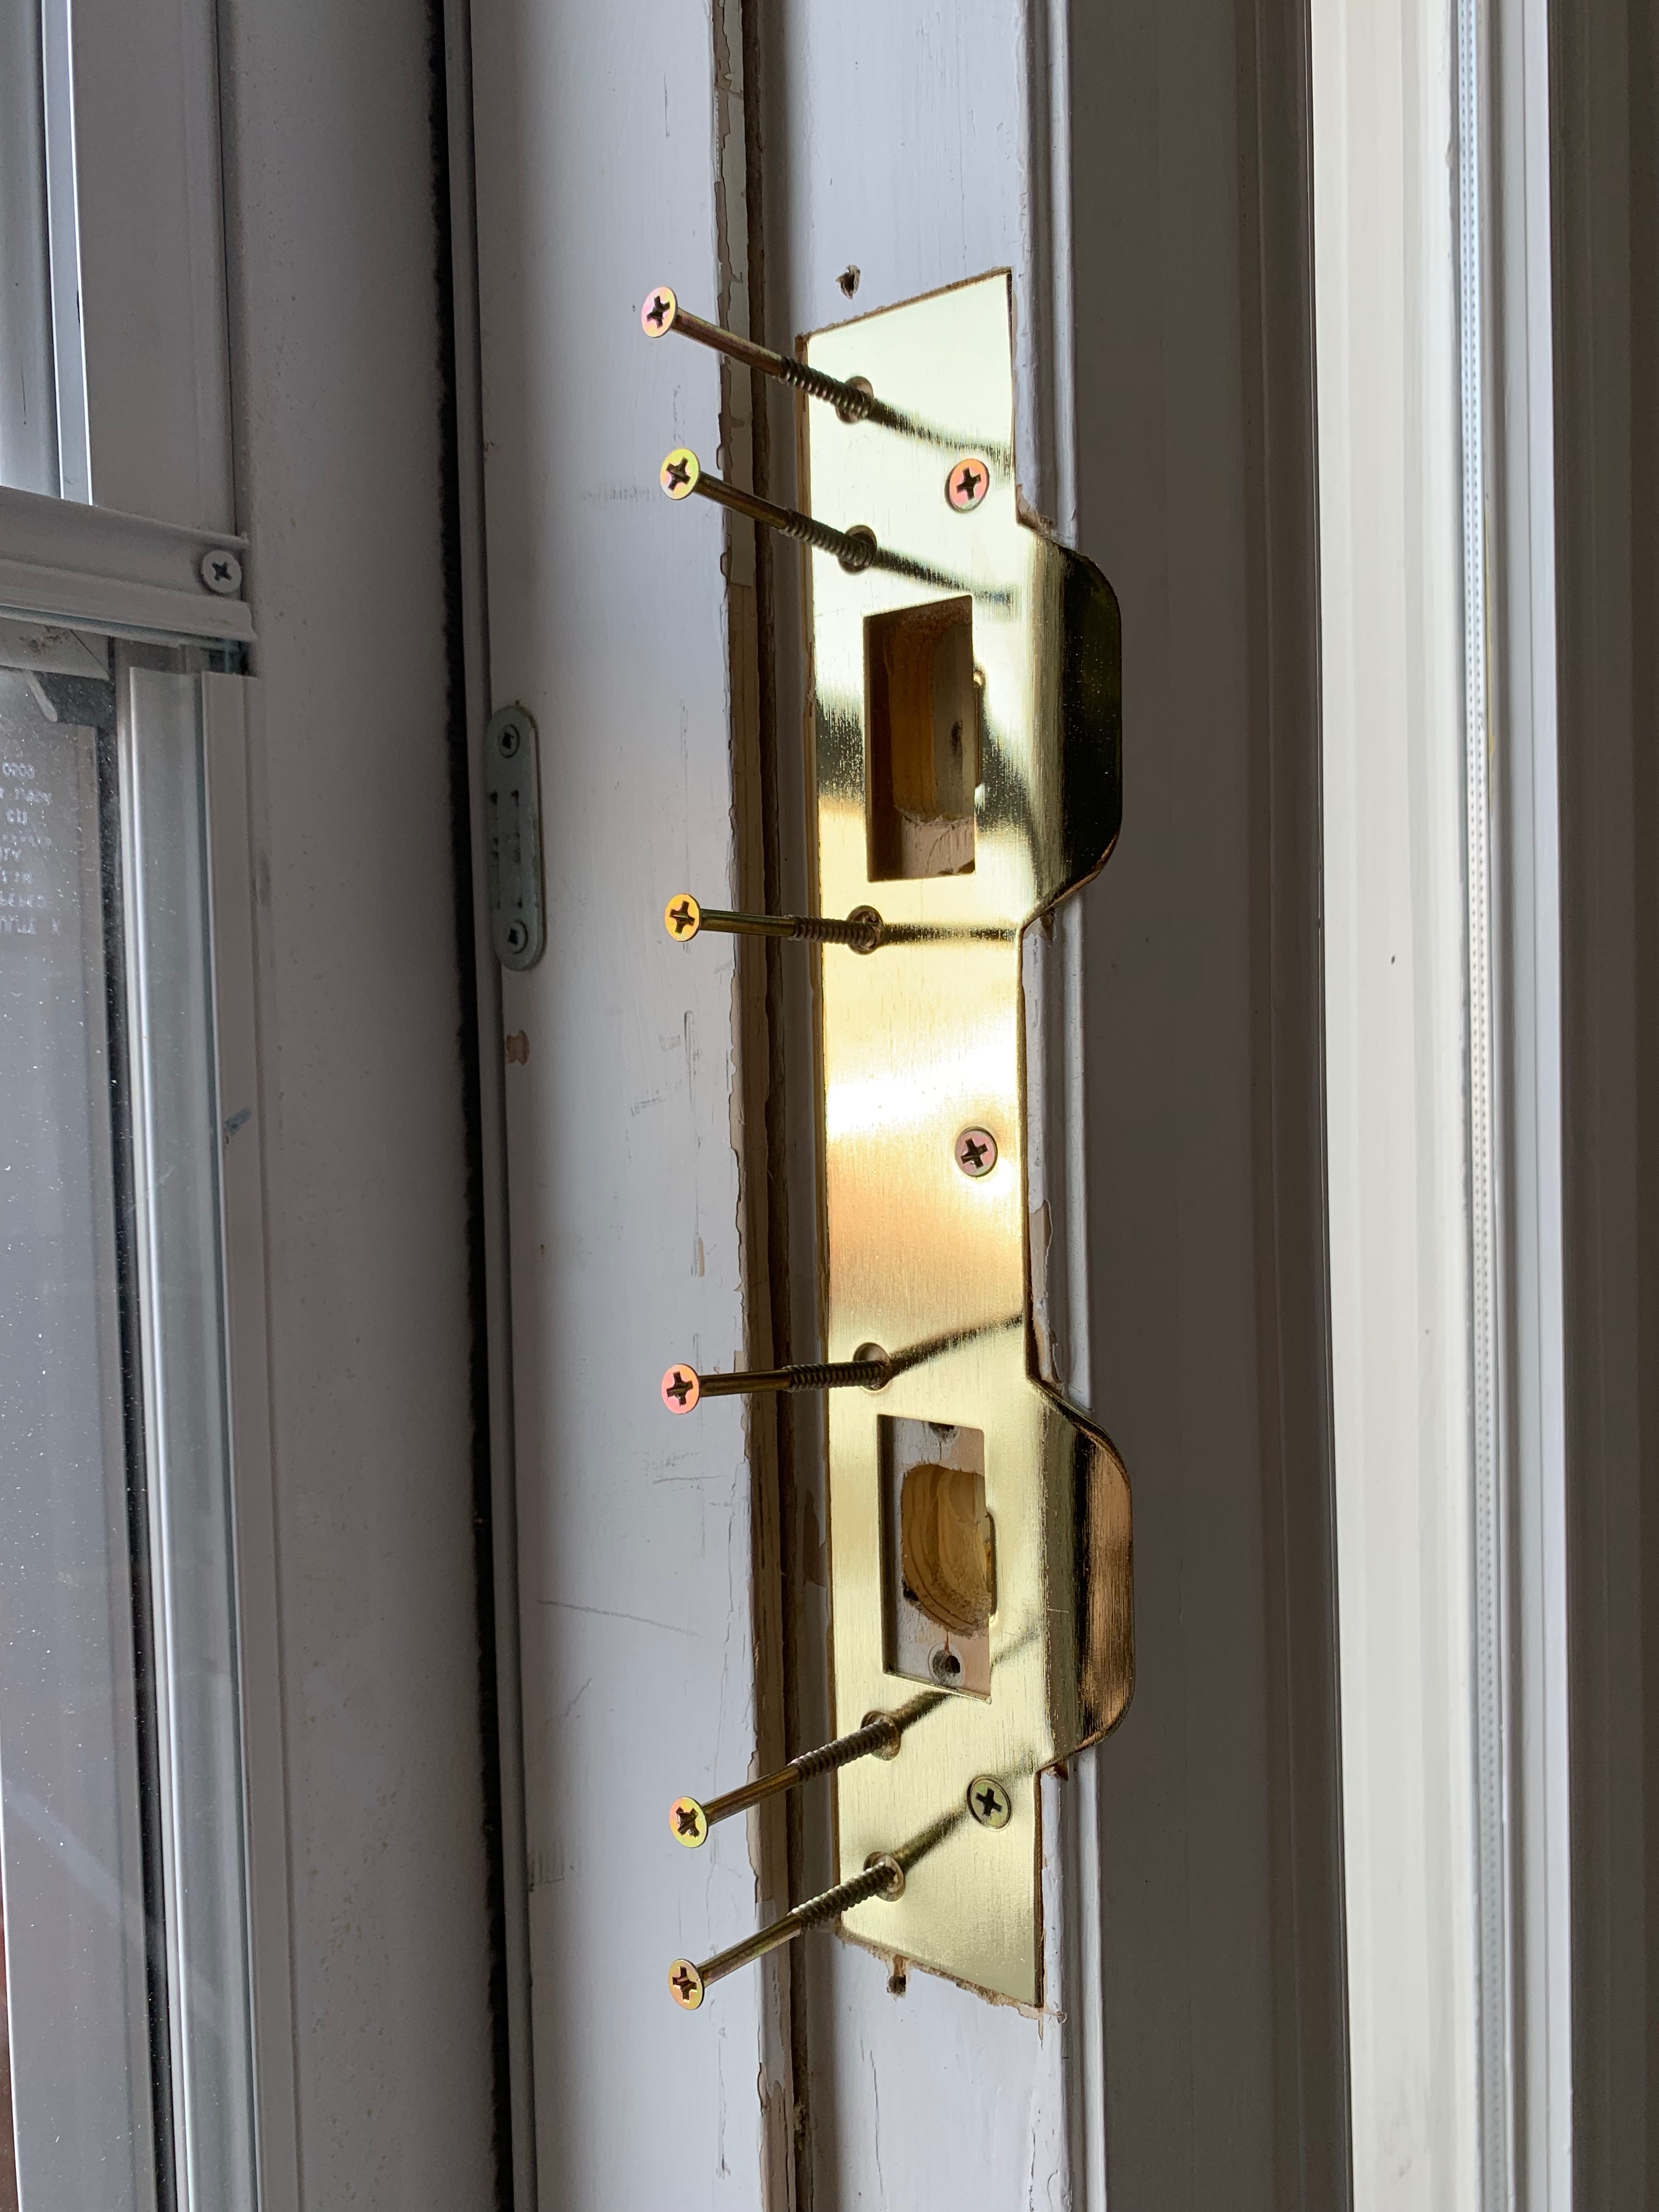
These solutions will work provided the rest of the wood is not rotted and is strong enough to handle the repair. The example photo gives you an idea of what this would not work on.
These same repairs can be used for door hinges as well!
Not ready to do-it-yourself? That’s okay! We service Mineola and the surrounding areas of East Texas; including Tyler and Longview.
Door Replacement
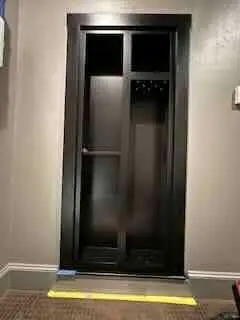
Hidden Door Installation
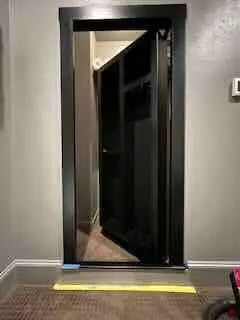
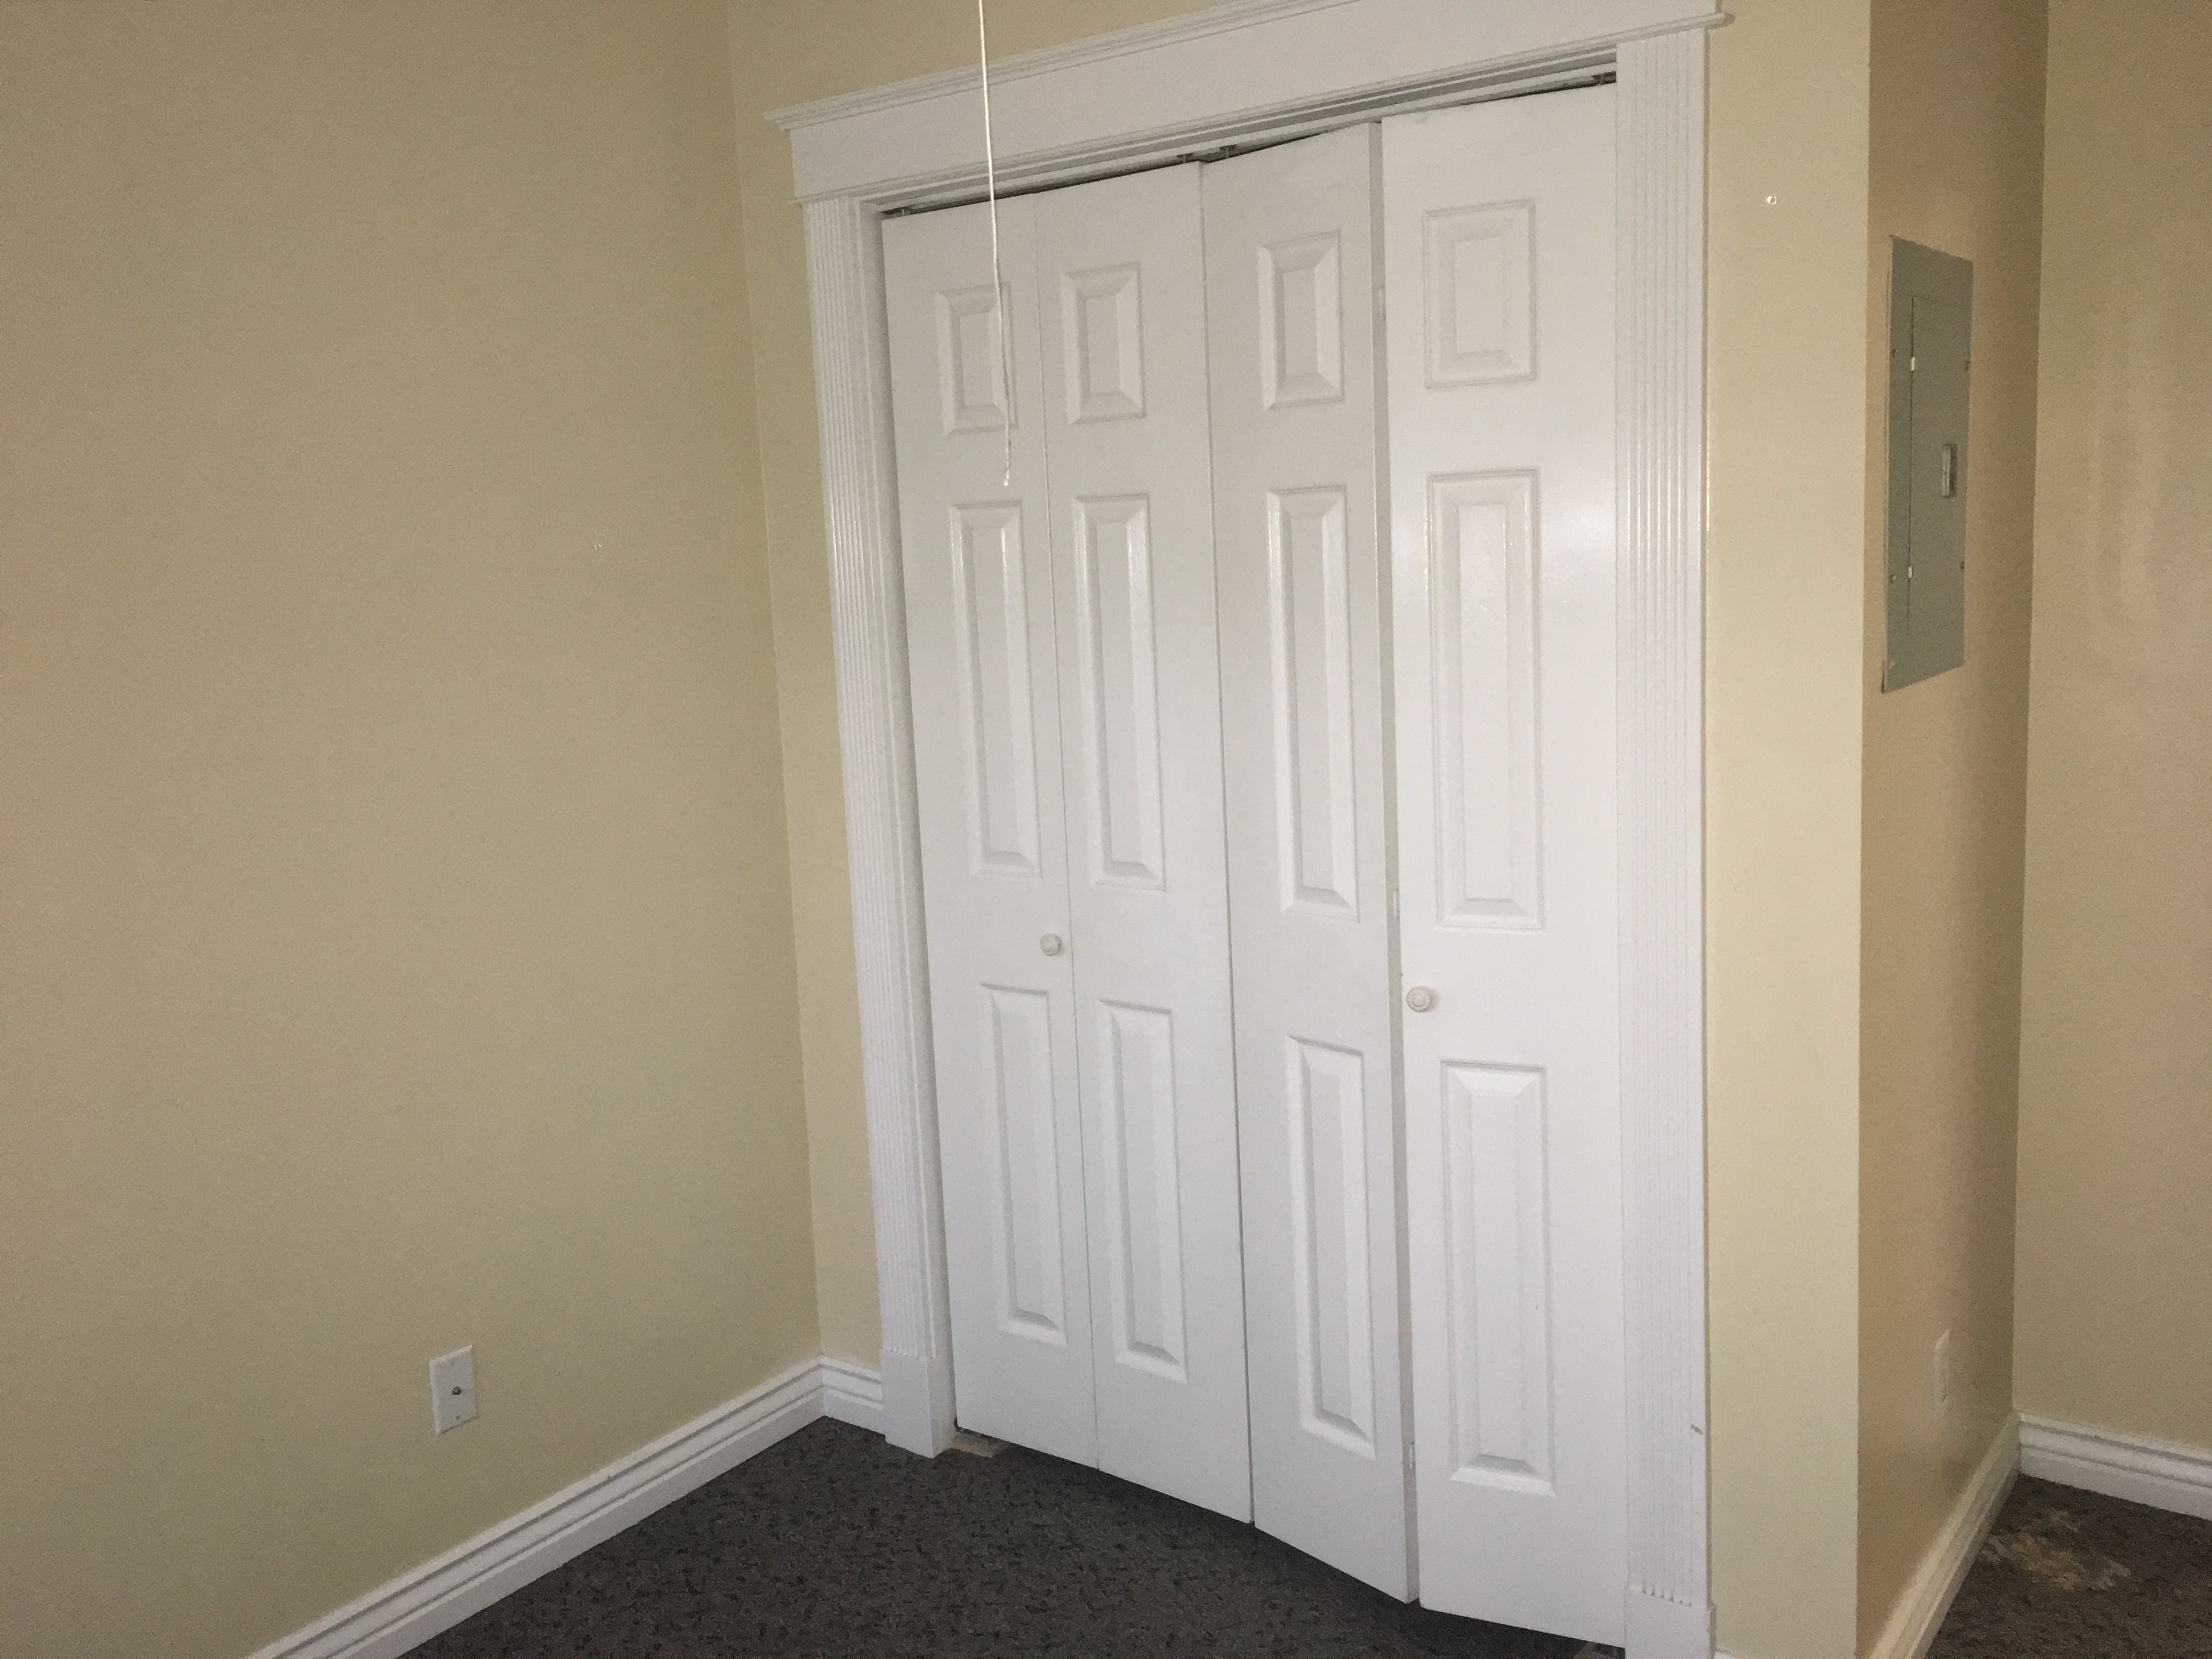
We also install Hidden Doors, Take a look at this recent install we did.
We also install Hidden Doors, Take a look at this recent install we did.
